supastarter v1 - Getting started
Deprecated version
You are looking at the documentation for supastarter v1. This version is deprecated and
will not be updated anymore. Please refer to the supastarter v2 documentation for the latest version.
1. Setup supabase
Before you can run the project, you need to create a supabase project.
Simply head over to the supabase website (opens in a new tab) and sign in with your Github account.
Create a new project if you haven't done so already.
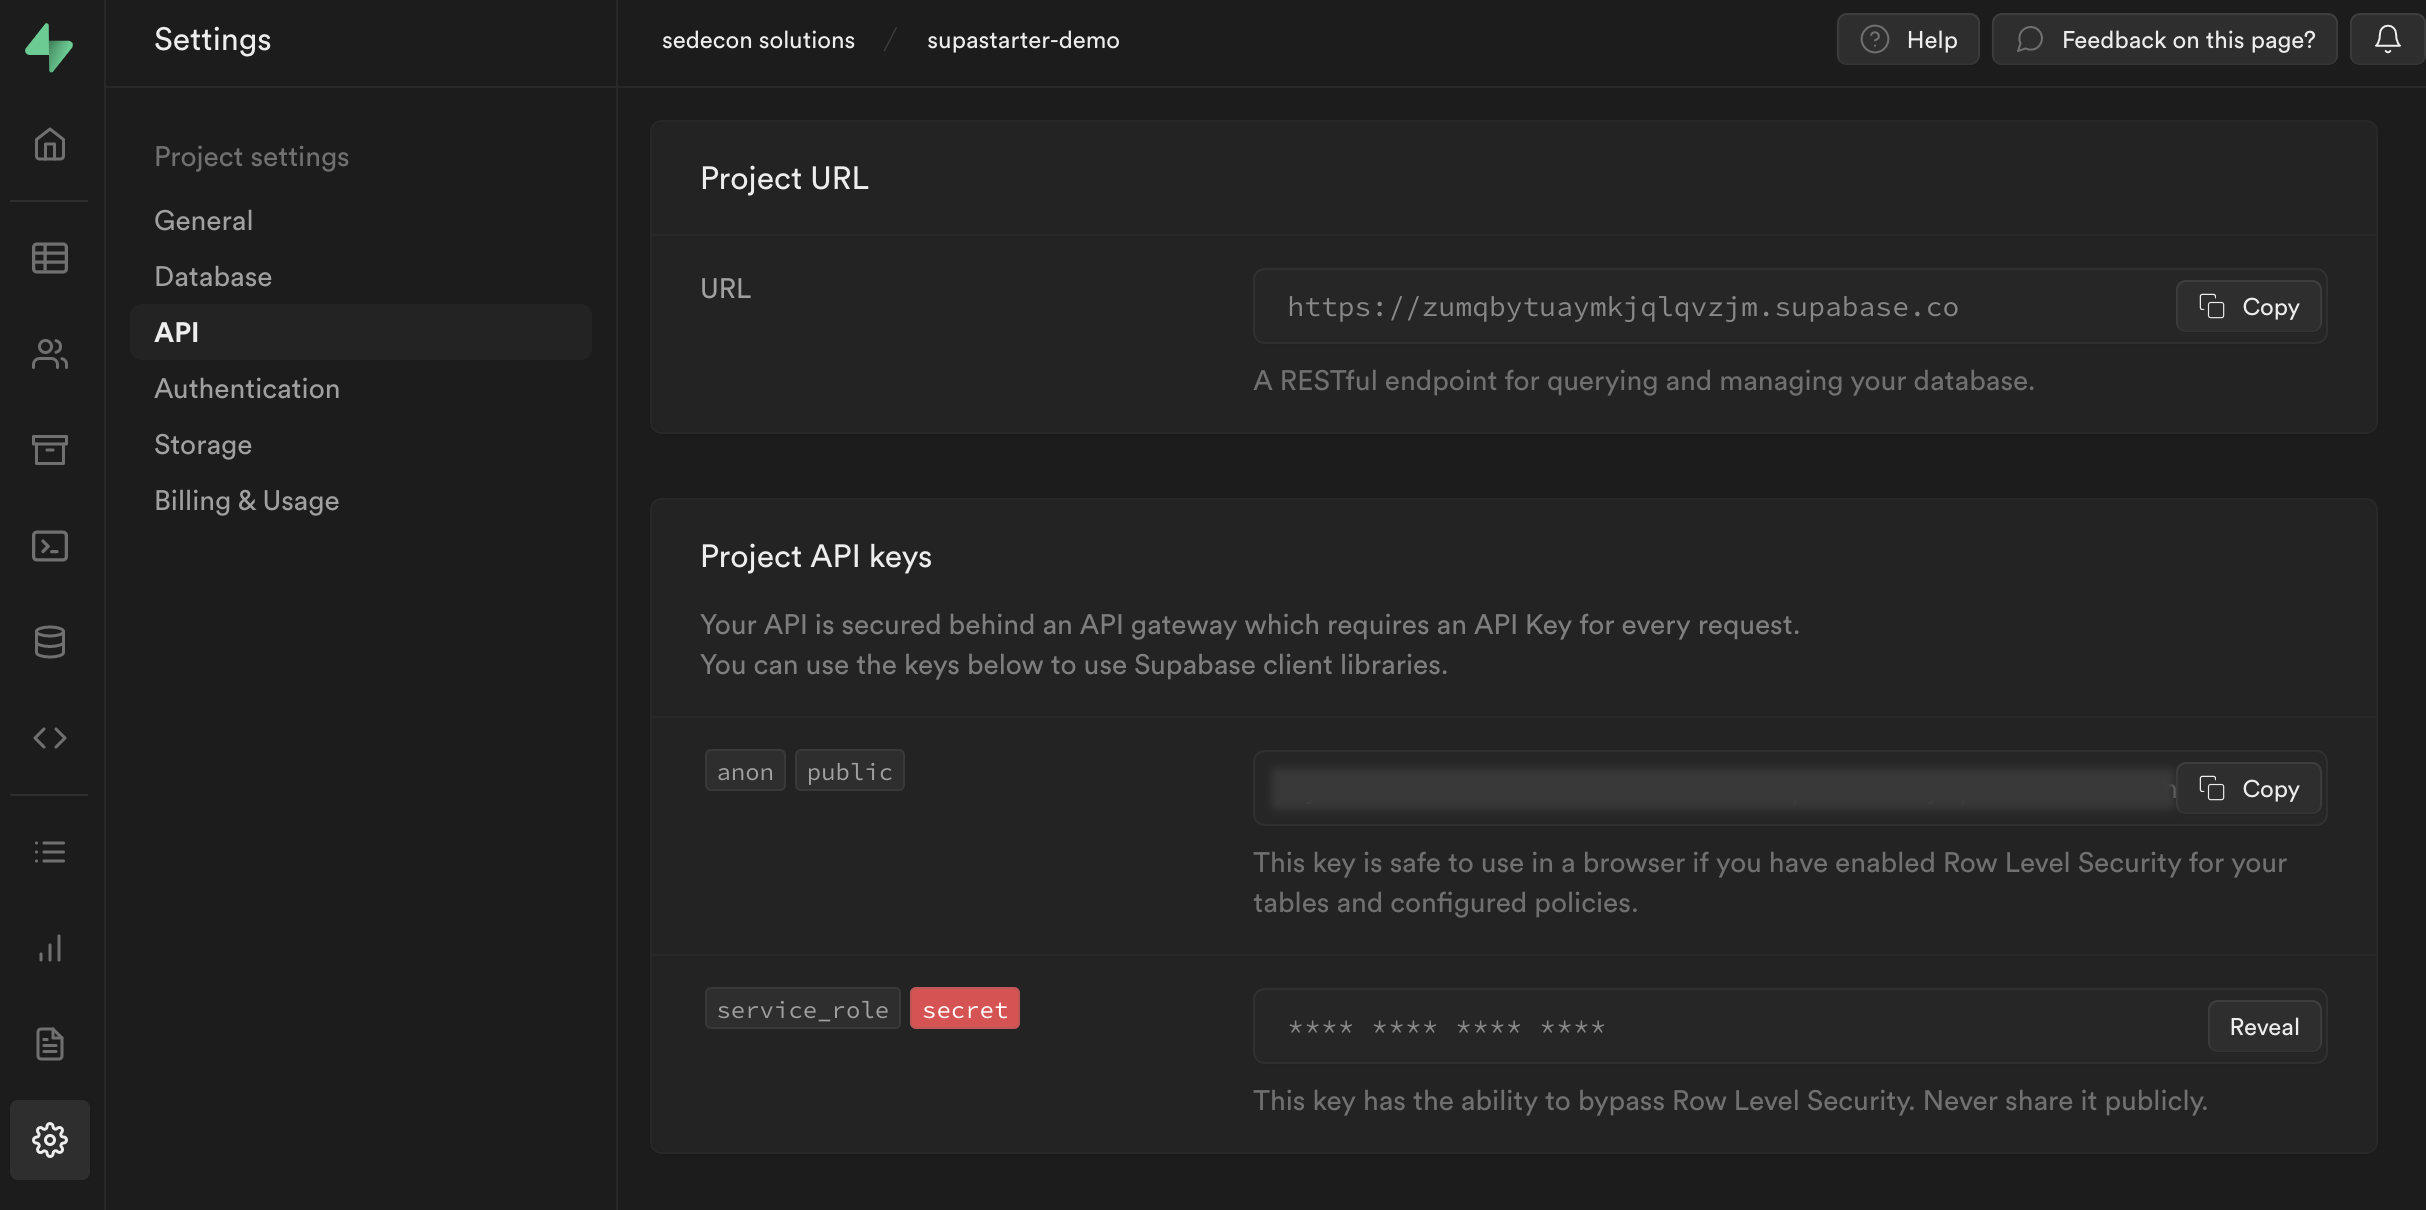
Then navigate to Settings > API and copy the URL under Project URL as well as the anon public key and the service_role key Project API Keys. You will need those strings in the installation / setup process.
2. Clone the boilerplate
Then clone the supastarter repository to your local machine:
git clone https://github.com/supastarter/supastarter.git3. Installation
After cloning the repository, you first need to configure the project's environment variables, so your app can connect to supabase.
In the projects root directory, rename the .env.example file to .env and fill in the values.
NEXT_PUBLIC_SUPABASE_URL=<YOUR_SUPABASE_URL>
NEXT_PUBLIC_SUPABASE_ANON_KEY=<YOUR_SUPABASE_ANON_KEY>
SUPABASE_SERVICE_KEY=<YOUR_SUPABASE_SERVICE_KEY>
This file will not be checked into the repository, it's just used for local development.
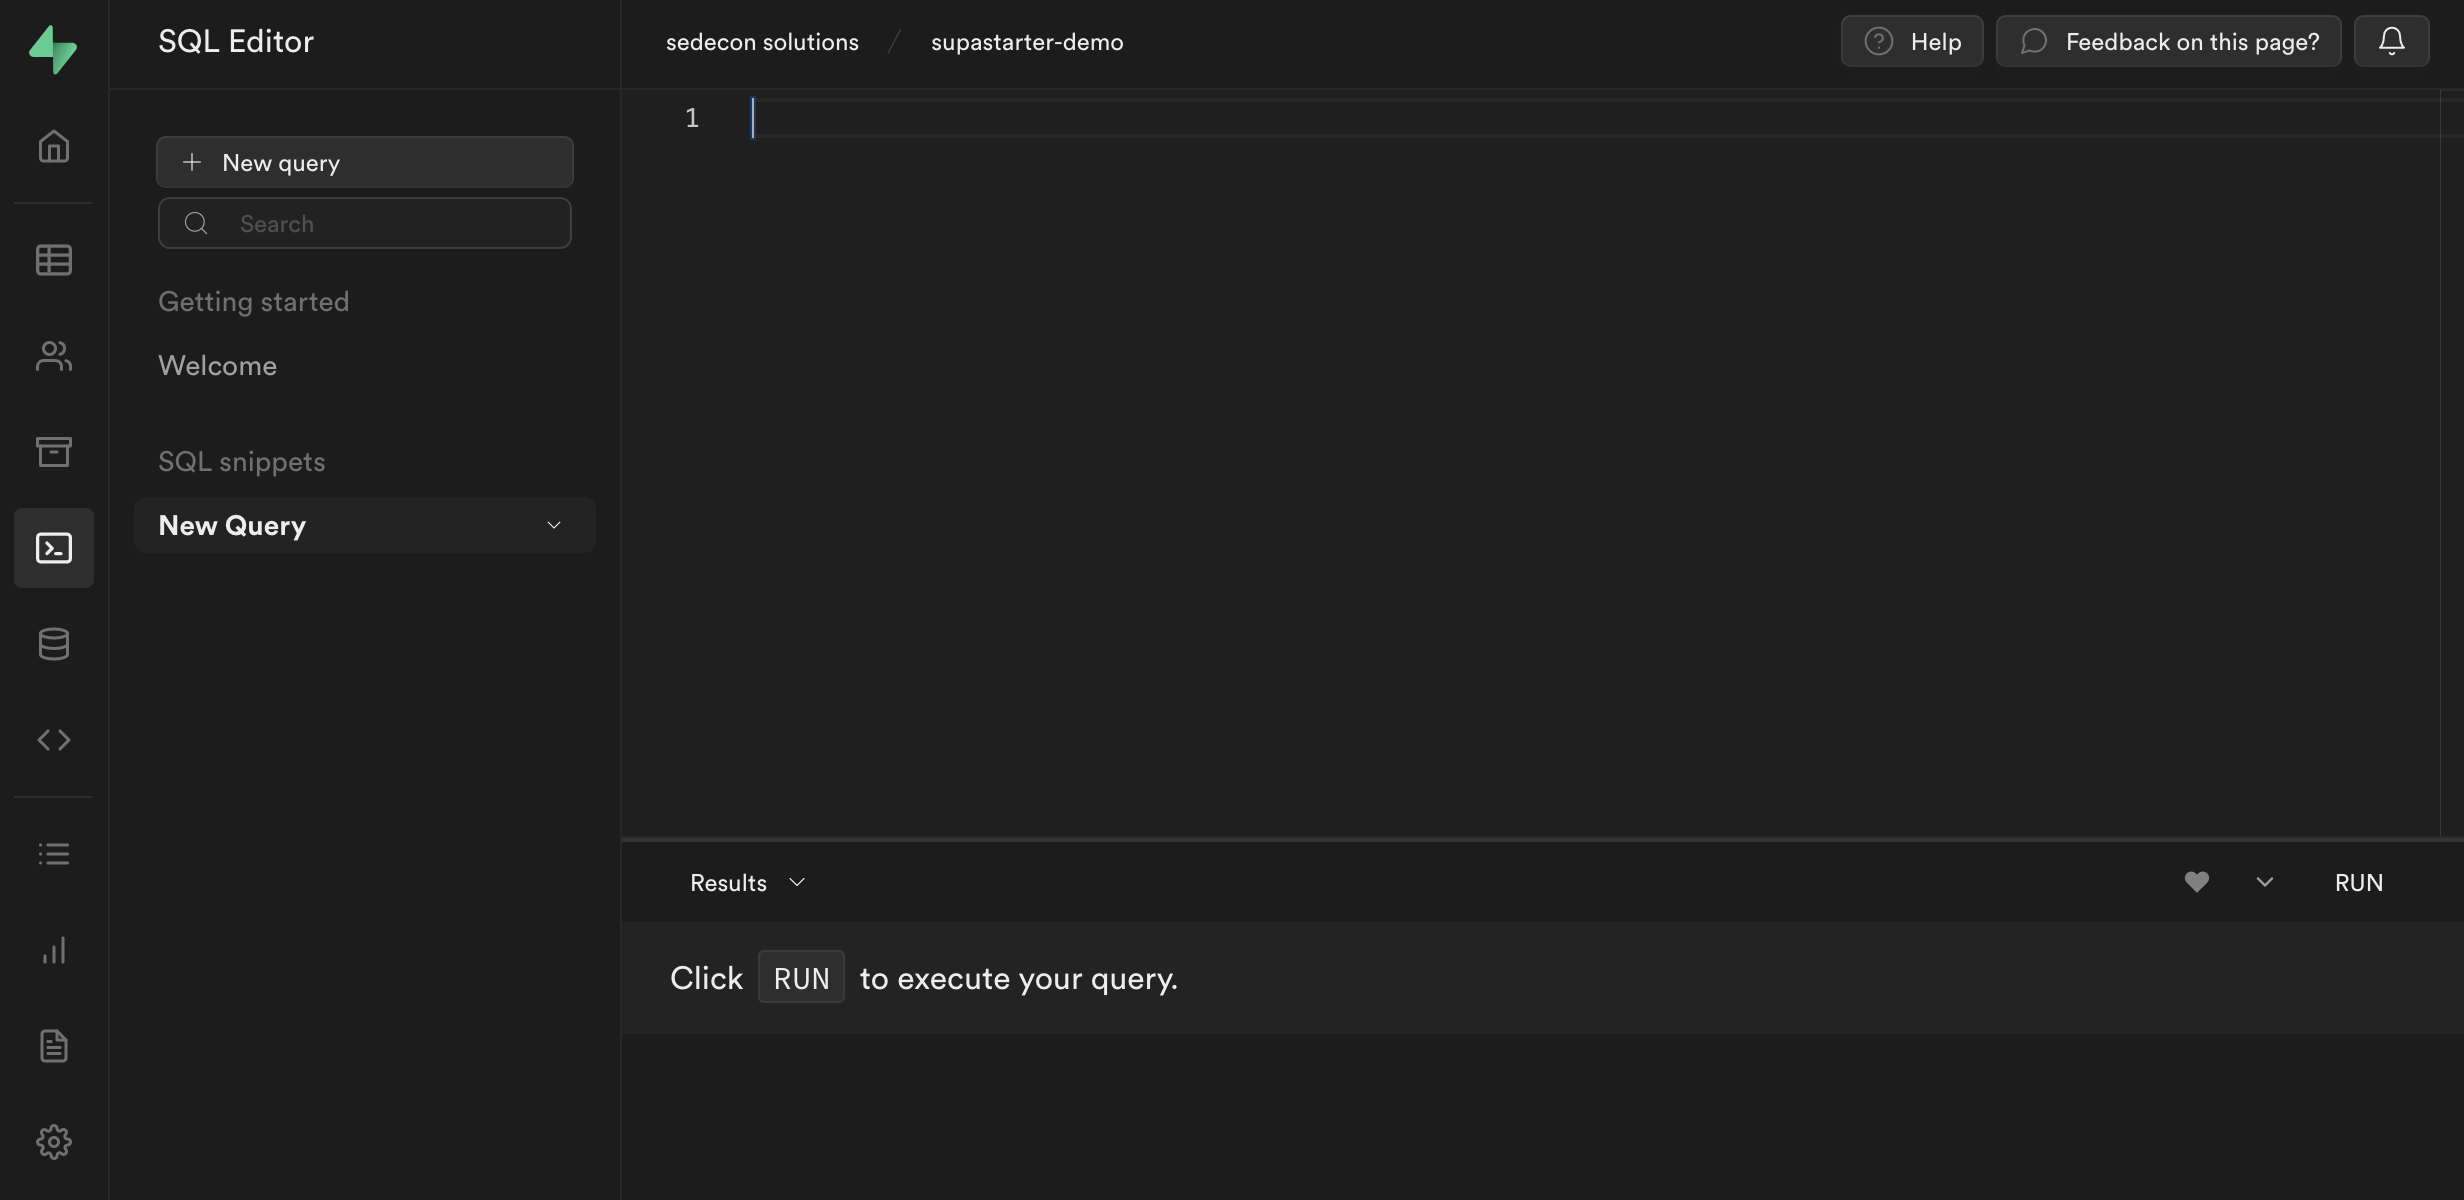
To run the example project, you need to setup the database in supabase. In the root directory of your project you will find a supabase-db-setup.sql file. Copy the contents of it, then in the supabase admin navigate to SQL Editor and paste the contents into the editor. Then click the Run button and after a few seconds, your database should be setup.
Next, to install the projects dependencies, run the following command in your console inside of the projects directory:
npm installNow you can start the local development server with:
npm run dev