Internationalization
supastarter includes next-i18next to translate your web app. To learn more you can visit next-i18next github (opens in a new tab) and the i18next documentation (opens in a new tab).
General
The translations of you app are stored in /public/locales/{lang}/{ns}.json.
{lang} is the language code and {ns} is the namespace. This structure enables you to split your translations into multiple files and only load the necessary files for each page.
Add a new language
To add new languages there are a few steps to do so:
- Add the new language code (e.g.
fr) to the locales array innext-i18next.config.js - In the
config/i18n.tsadd the name of the new language (e.g.French) to thelocaleNamesobject - Add a folder with the language code to the
/public/locales/(e.g./public/locales/fr). - Copy all the translation files from the
/public/locales/enfolder to the new language folder
Now you can start translating your app in these files.
For an easier translation flow you can use tools like Localazy (opens in a new tab) or SimpleLocalize (opens in a new tab). We will add integration guides for tools like those later.
Translating with i18n-ally
Creating the translations for your components right within your editor is easy and fast using the i18n-ally extension for VSCode. When you created a new translatable string in your component like t('hero.title') you can simple focus and hover that string with your cursor and the extension will show you the translations as well as action buttons to add/edit a translation:
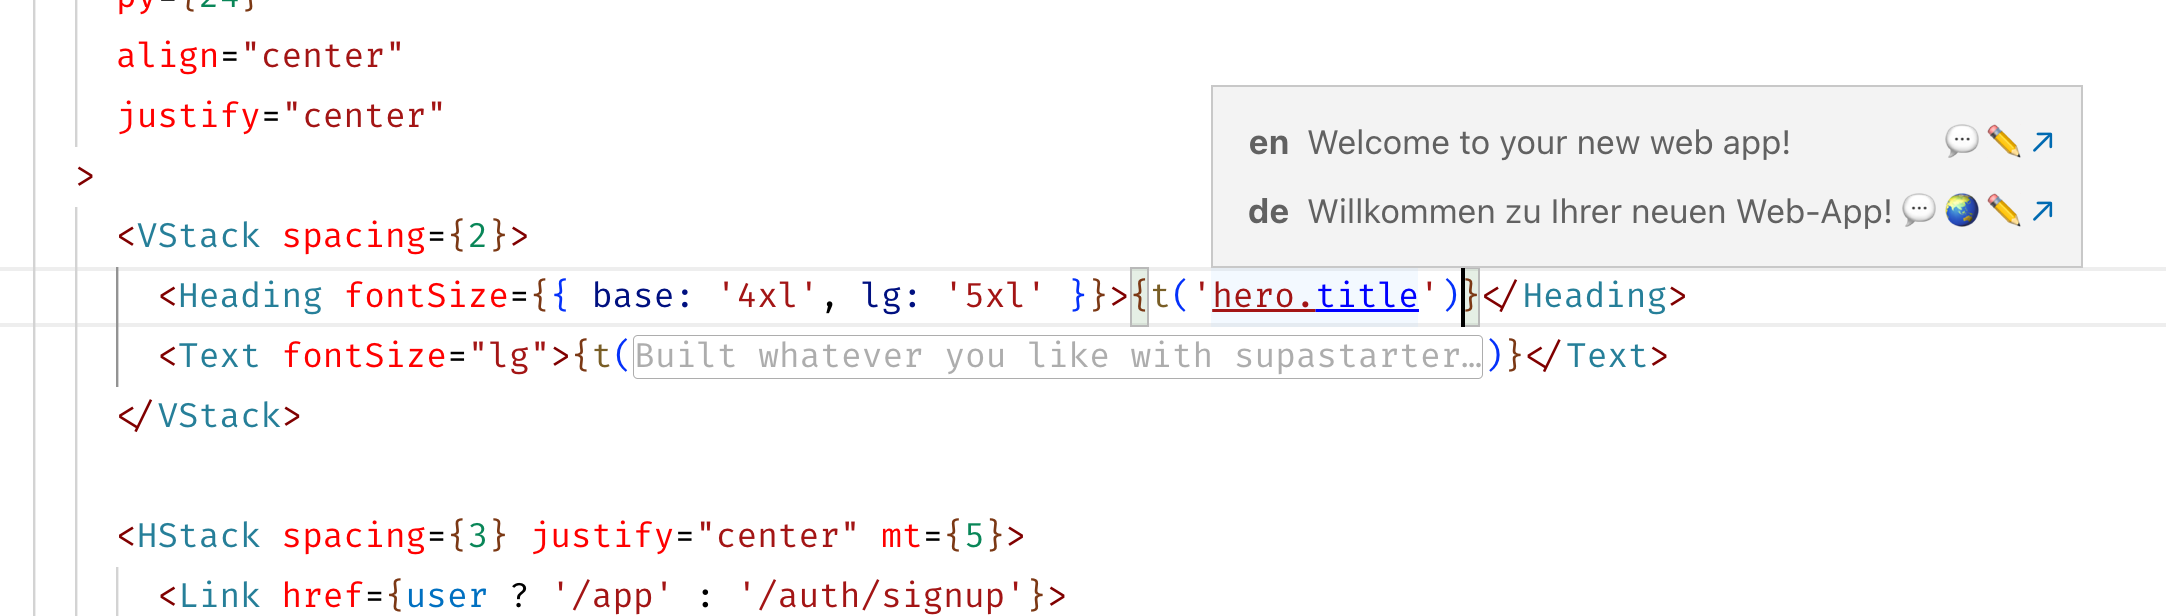
When you click the edit button you will be promted with an input to enter the translation. After you hit enter, you have to select in which namespace file you want to save this translation and the extension will do the rest.
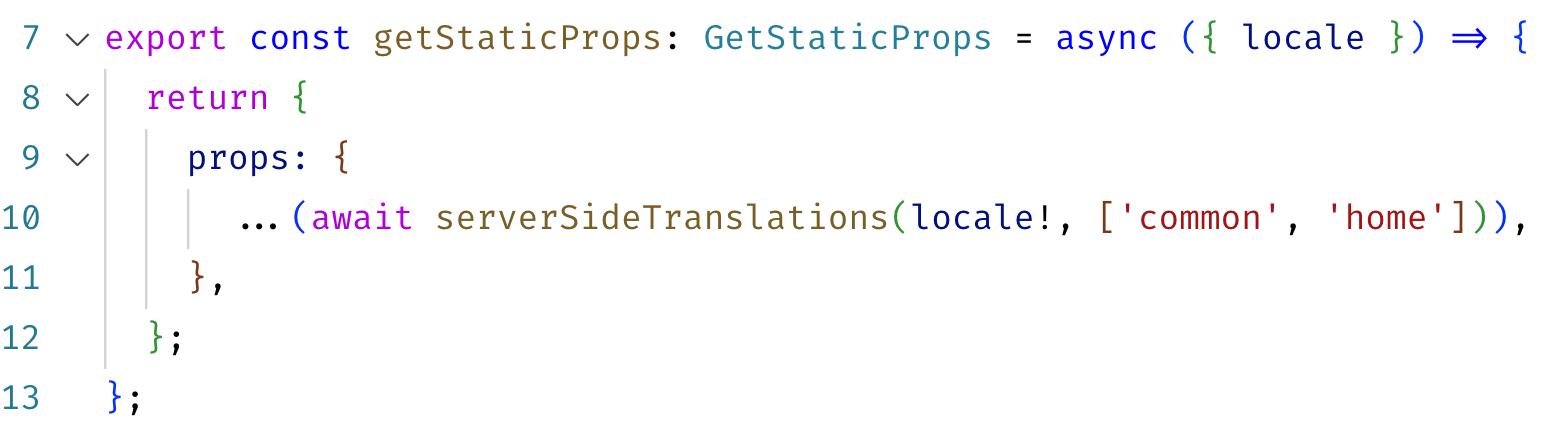
To see the translation in your app, make sure the namespace file is added in the getStaticProps function of the page that uses the component: